To add student form template, please follow the steps mentioned below:
Go to Settings > Select Student Form option under Templates.

Click on add new template if you want to add a new template.
Click on Edit icon displayed in order to update existing template.

Enter the template name.
Select required statuses for default fields.
Click on Custom fields check-box in order to add any extra customized fields.
Enter the field title .
Select display status (on where you want to display these fields like, Online/inperson or for All)
-If Online is selected, then your fields will appear on online form only.
-If in-person is selected then it will be available on admin's dashboard only.
-Whereas if select All then it will display on both.
-If Inactive is selected then field will not display anywhere.
-Select display type (Mandatory Or Optional) as per requirement, whatever you select as display type these fields will work accordingly.
-If Mandatory is selected then while updating student’s information, it will not be saved without providing data in these fields.
-If Optional is selected then, it’s up to you whether you want to enter information in these fields or not.
-Click on add row, if more rows are required.
Once done, click on save.

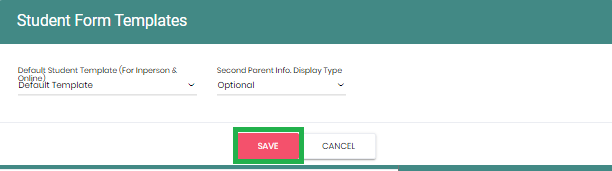
In order to select your customized student form as default form for your school, please follow the steps mentioned below:
Your added student forms are listed under Default Student Template drop-down, select required form from the list.
Click on Save button once the required form is selected.