Step 1: Connect to Network
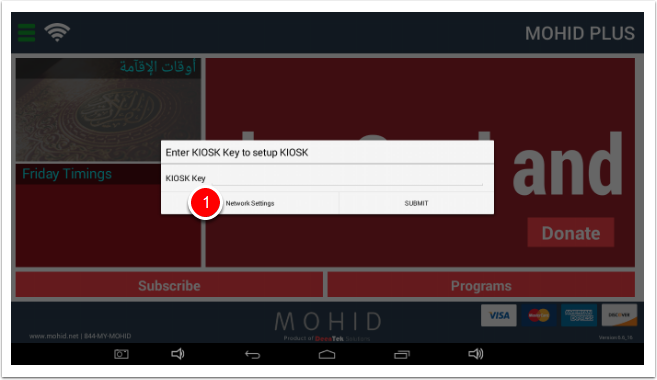
When KIOSK will first powered up you will see following screen.
Please tap on Network Settings button
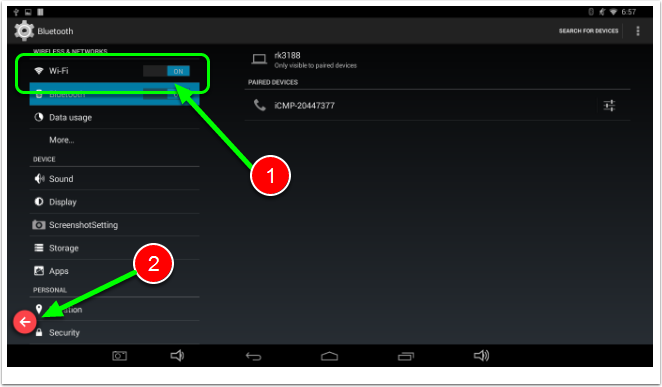
Tap on WiFi button and select your Network and connect to it
Tap on Back button (Arrow button in bottom left)
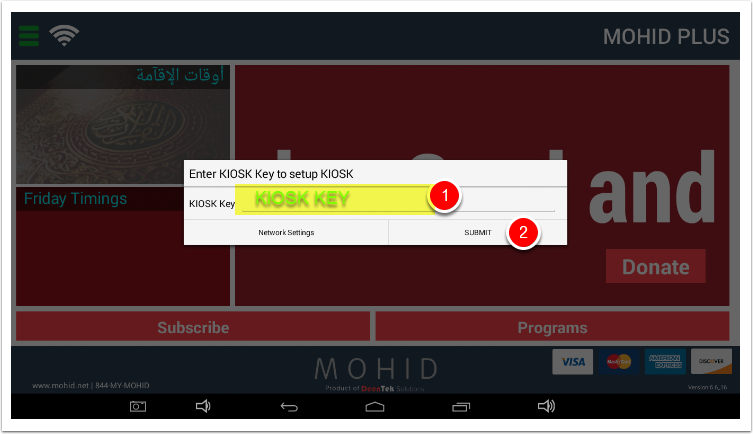
Step 2: KIOSK Key
Obtain KIOSK key from MOHID Dashboard (KIOSK dashboard) using Article How to obtain KIOSK Key
Enter KIOSK KEY and Tap on SUBMIT Button
KIOSK will start to communicate with server and download all settings.
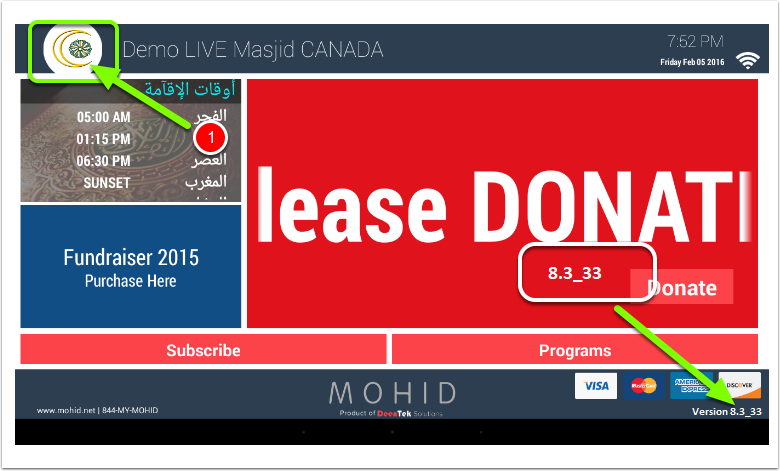
You should see your Masjid Name on top right

Step 3: KIOSK Upgrade
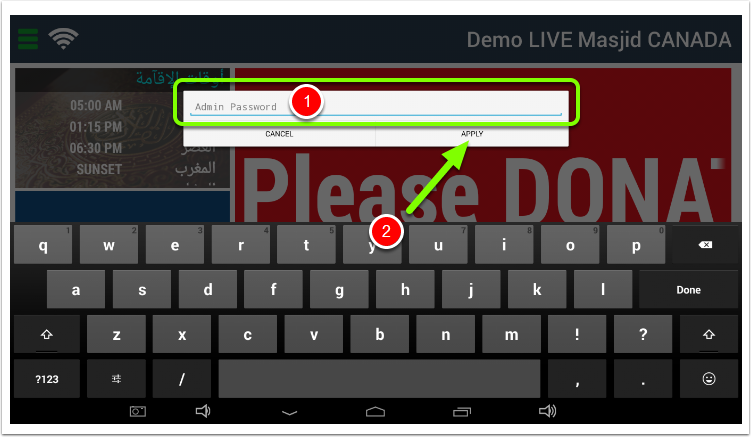
Double Tap on the top left corner on the menu button (As shown in picture above) .
A password entry box will open.
Default password is admin
Tap APPLY
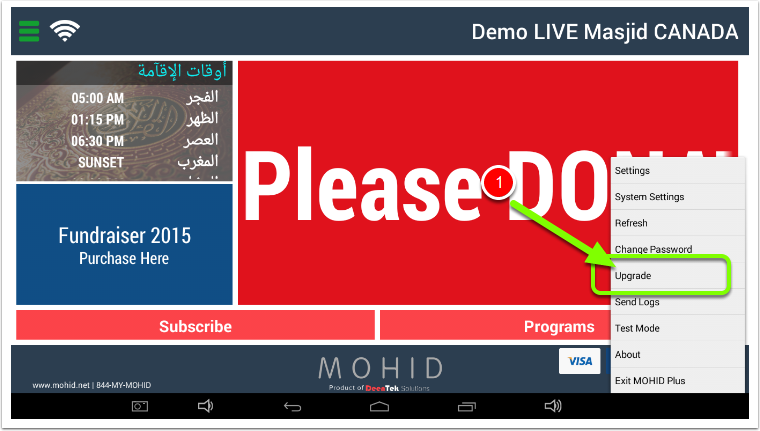
A menu will pop up on Bottom Right edge .
Tap Upgrade.
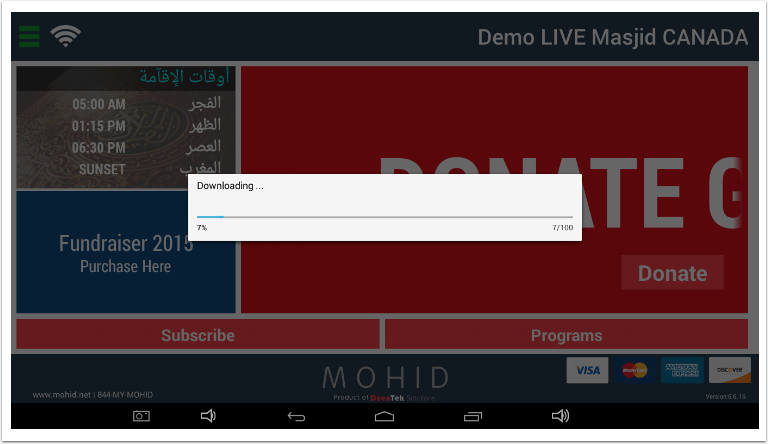
Software download will start.
Once download finished tap on Install.
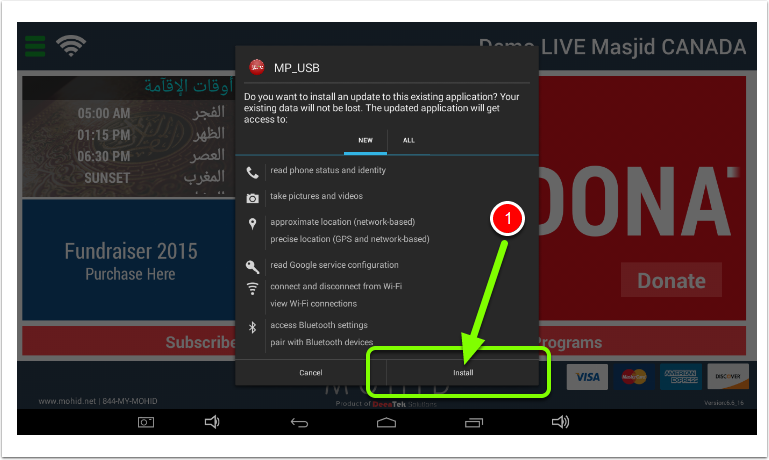
After installation finish KIOSK software should be on the latest version.